


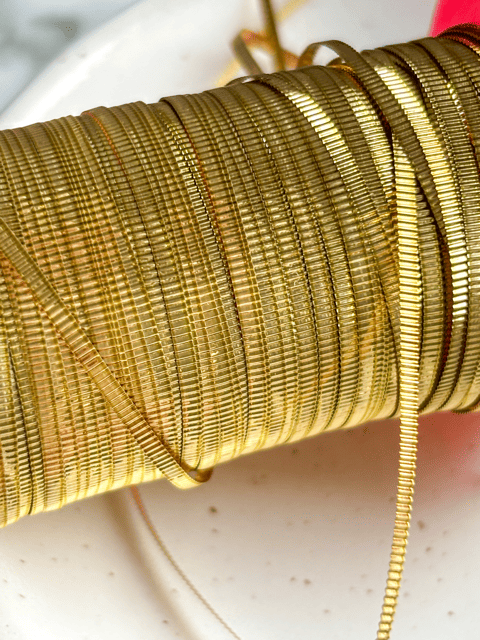
How to make a goldwork embroidery stop stitch?
In goldwork embroidery, a single bad stop stitch can ruin an entire design. Thread slipping, purl lifting... Yet, it's the first step many beginners neglect. This guide explains what a stop stitch is in goldwork embroidery, and how it differs from a classic stop stitch.
What is a stop stitch in goldwork embroidery?
A stop stitch is the action of firmly securing a thread to the fabric, both at the start and end of goldwork embroidery. It creates an invisible anchor: no visible knot, no bump under the fabric, no weakening of the weave. It guarantees that your work will last over time, even under the tension of metallic threads.
In classic embroidery (cross-stitch, stranded cotton embroidery), you often start with a knot on the back of the work. This habit doesn't work in goldwork embroidery: metallic threads are smooth, heavy, and exert permanent tension on their anchor points. An unsecured thread slips, the purl lifts, and the jaseron (cords) move.
Good to know: In traditional goldwork embroidery, a quality piece is recognized as much by its back as by its front. A clean back, without knots or hanging threads, is the signature of an embroiderer who masters their thread anchoring.
Why not make a knot in goldwork embroidery?
The question often comes up among beginners who are used to other forms of embroidery: why can't you simply make a knot to secure the thread?
Three reasons explain this fundamental rule of goldwork embroidery:
- The knot creates a bump. Under fabric stretched on a hoop, the slightest relief is visible on the surface. A knot located under a purl or jaseron area creates a micro-deformation of the fabric that distorts the final result, especially under glancing light effects.
- The knot weakens the fabric. By tightening, it concentrates tension on a single point of the fabric. With time and handling, this point frays and can create a snag under the metallic threads.
- A stop stitch offers a much stronger anchor by distributing tension over several small, tight stitches rather than a single knot.
When is a stop stitch used in goldwork embroidery?
A stop stitch is systematically used in two situations:
1. At the start of each length of thread
Before starting to embroider, the thread must be secured to the fabric. The starting stop stitch is ideally placed in an area that will later be covered by the embroidery: under the outline of the design, in a padding area, or in a space that will be filled with purl. This makes it invisible once the work is finished.
2. At the end of each length of thread
When your thread is too short to continue or you are changing technique, you must neatly finish before moving on. The finishing stop stitch is made on the back of the work, by slipping the thread under already made stitches to secure it without a knot. Then cut flush for a clean back.
3. With each change of area
On a complex design with several distinct areas, each area begins and ends with a stop stitch. You should never cross the fabric with a floating thread from one area to another, as this thread would float on the back and risk snagging or pulling on the fabric.
How to make a stop stitch in goldwork embroidery?
Step 1 — Prepare the thread length
Cut your thread to arm's length (from thumb to elbow). Thread it into the needle. Watch point: couching thread or working thread depending on the technique.
Step 2 — Choose the anchoring area
Identify an area of the design that will be covered by the embroidery. This is where your stop stitch will be invisible. Watch point: design outline or padding area.
Step 3 — Stitch on the right side of the fabric
Insert the needle on the right side of the fabric in the chosen area. Bring the needle out very close to the entry point. Watch point: fabric well-stretched on the hoop.
Step 4 — Make small, tight stitches
Make 2 to 3 small, tight stitches of 1 to 2 mm, side by side without overlapping them. These stitches form your anchor. Watch point: do not make a knot.
Step 5 — Cut the starting thread
Grasp the visible thread on the right side, lift it slightly, cut between the knot and the fabric. Watch point: cut flush.
Step 6 — Start embroidering
Your thread is secured. You can start embroidering (jaseron, purl, padding) without risk of the thread coming undone.
Frequently Asked Questions (FAQ)
Is the stop stitch the same for all threads used in goldwork embroidery?
The principle is the same (small, tight stitches without a knot) but the material varies slightly. For a fine silk thread, the needle will be smaller and the stitches tighter. For a thicker DMC Retors padding thread, the stitches can be slightly larger. The logic remains identical: solid, invisible anchor, without a knot.
Can glue be used to secure threads in goldwork embroidery?
No, never. Textile glues yellow over time, stiffen the fabric, and can alter metallic threads. The only correct way to secure a thread in goldwork embroidery is with a flat stop stitch.
How many stop stitches should be made per length of thread?
One starting stop stitch and one finishing stop stitch per length of thread is the minimum. In highly stressed areas (corners, starting points of jaseron, ends of couching), reinforce with a second pass for added security.
My thread comes undone despite the stop stitch, what should I do?
First, check that your stitches are tight and numerous enough (at least 3). If the problem persists, the cause is often too loose fabric that doesn't hold the stitches, or a too smooth thread (pure silk thread) that slips even after stopping. In this case, run your thread over beeswax before making the stop stitch: the wax adds grip and stabilizes the thread.
The stop stitch is the first technique taught in our goldwork embroidery booklet, with step-by-step illustrations and advice adapted to each type of thread included in the kit. Learn it correctly from your first session.
→ Discover our goldwork embroidery kits


